Reverse-Searing — How to Cook a Steak Without Ruining It
Why flipping the traditional sear-then-finish order gives you edge-to-edge pink, a real crust, and a steak that doesn't dry out in the time it takes you to pour the wine.
The default way most people cook a steak — slap it on a screaming-hot pan, sear hard, finish in the oven — is fine for a thin sirloin you’re about to drown in pepper sauce. It is bad for any steak thick enough to deserve respect.
Here’s why: by the time the centre of a 1.5-inch ribeye gets to medium-rare, the half-inch ring around the edge is well past medium and on its way to grey. That depressing band you see when you slice a thick steak open? That’s what hot-fast cooking does to thick meat.
Reverse-searing fixes it. You cook the steak slowly first until the inside is at temperature, then sear it hard at the end just to build the crust. It sounds backwards. It is backwards. It works.
What’s actually happening in there
Cooking a steak is two completely different jobs glued together:
- Getting the centre to the doneness you want. This is just thermodynamics. Heat in, internal temperature rises.
- Building a crust on the outside. This is the Maillard reaction — proteins and sugars hitting 140°C+ and turning into the brown, savoury, complex compounds that make a steak smell like a steak.
The Maillard reaction is surface chemistry. It only happens above 140°C. Below that, the surface just dries out without browning. So why do we keep insisting on doing them in the wrong order?
By doing the slow cook first (~110–130°C ambient, low enough that the surface barely changes), you get the inside to a uniform, edge-to-edge target temperature with no overcooked grey band. Then a 60–90 second sear in something screaming-hot does the crust. Total surface time at high heat: less than two minutes. No time to overcook anything underneath.
The numbers that matter
Pull the steak from the slow phase at the following internal temps, about 5°C short of where you want to finish — the sear adds the rest:
- Rare: pull at 46°C (115°F), finish at 52°C (125°F)
- Medium-rare: pull at 52°C (125°F), finish at 57°C (135°F)
- Medium: pull at 57°C (135°F), finish at 63°C (145°F)
- Medium-well: pull at 63°C (145°F) — but if you’re cooking thick steak medium-well, we need to talk.
Slow-phase temp: 110–130°C (225–250°F) in an oven, indirect side of the grill, or a smoker.
Sear: as hot as you can get it. Cast iron over a chimney of coals, or a screaming pan with avocado/canola oil (smoke point matters — olive oil burns).
What you need
A digital probe thermometer is the only non-negotiable. Without one, you’re guessing, and reverse-sear without precision is just a longer way to make a sad steak.
After that:
- Cast iron pan or direct fire for the sear.
- A wire rack over a tray so air can move around the steak during the slow phase (raw underside surface = bad surface).
- High-smoke-point oil for the pan.
- Tongs. A fork is a steak’s enemy — every puncture is juice you’ll never see again.
Cuts that earn the technique
Reverse-sear is for thick steaks — 3.5cm (1.5 inches) and up. Below that, the temperature differential between centre and edge isn’t dramatic enough for the reverse-sear advantage to matter — a hot pan and a thermometer will do fine.
Above that:
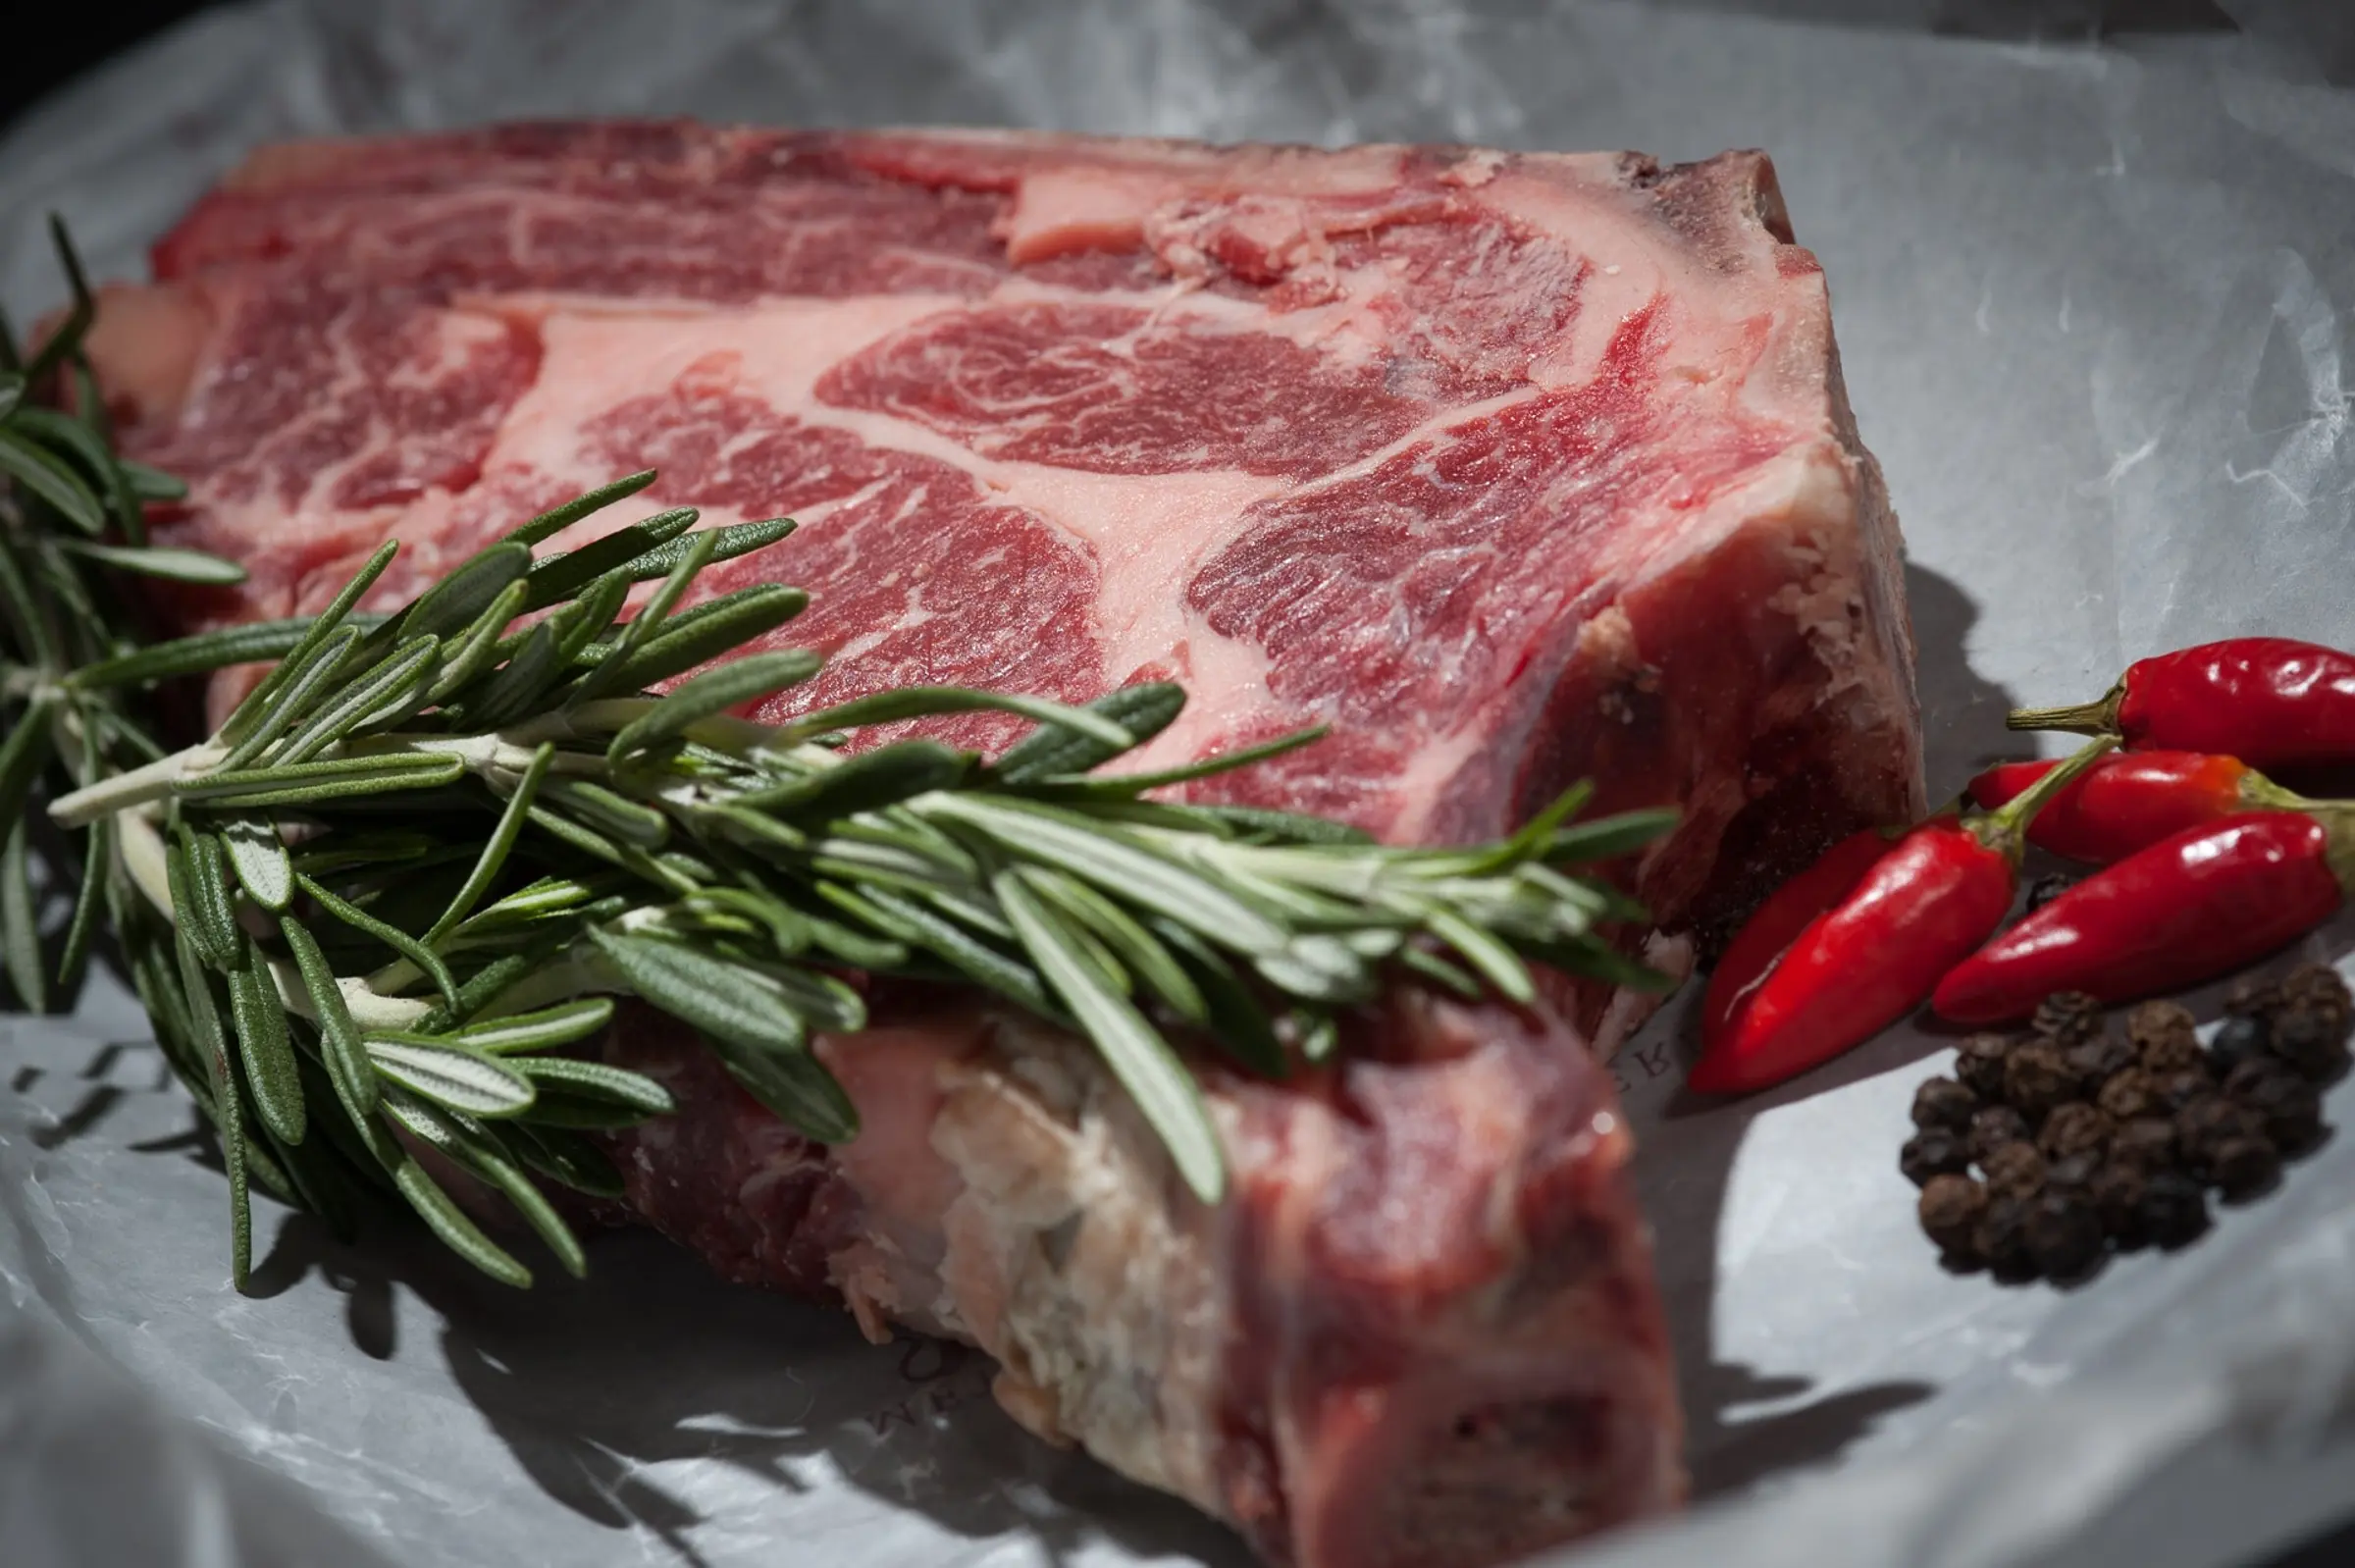
- Ribeye — the obvious one. The marbling renders gently in the slow phase, basting the meat from the inside.
- NY strip / sirloin — leaner, so the precision is even more valuable. No fat cap to save you from overcooking.
- Tomahawk / bone-in ribeye — the bone is a heat sink that makes traditional searing nearly impossible to do evenly. Reverse-sear was basically invented for this cut.
- Porterhouse / T-bone — two muscles cooking at different rates. Slow phase lets you target one (usually the filet side) and accept a slightly more cooked strip side.
The step-by-step
- Season heavily and early. Coarse salt and cracked pepper all over, then leave the steak uncovered on a rack in the fridge for at least an hour, ideally 12. The surface dries, which means a better sear.
- Slow phase. Steak on a rack at 110–130°C. Probe inserted into the thickest part, not touching bone. Pull at your target temp.
- Rest while you heat the pan. Let the steak sit for 5 minutes while the cast iron gets to “smoking, slightly terrifying.” This isn’t the main rest — that comes after.
- Sear. 45–60 seconds per side. Don’t move it around — give it contact. Edges held against the pan with tongs for any fat caps.
- Butter baste, optionally. Last 30 seconds: a knob of butter, a smashed garlic clove, a sprig of thyme. Tilt the pan, spoon the foaming butter over the steak. This is showing off, and showing off is fine.
- Rest 5–8 minutes on a board. Slice across the grain.
Why this works: the science, briefly
- Edge-to-edge doneness. Low ambient heat = a gentle gradient from outside to inside. By the time the centre hits your target, so does everything else.
- Maillard at the right time. High heat at the end creates a brown crust in seconds, with no time to overcook the meat underneath.
- Drier surface = better crust. The slow phase dehydrates the outermost millimetre of the steak. Dry meat browns. Wet meat steams.
Where this shows up
This is the only way I cook a steak thicker than my thumb. It’s the technique under any tomahawk, any thick-cut ribeye, any time you’ve spent good money on a single beautiful piece of beef and don’t want to waste it. A specific tomahawk recipe is coming — same logic, just with a herb-and-garlic compound butter doing the talking at the end.
What I learned the hard way
- Skip the thermometer at your peril. This technique without precision is just slow-cooking a steak and hoping. Get a probe.
- The sear needs to be violent. Anything less than smoking-hot pan or red coals will overcook the steak chasing the crust. Better to take 90 seconds in a furnace than three minutes in something lukewarm.
- Dry the surface. Pat it down with paper towels before the sear, even if the surface looks dry. Any moisture buys you steam, not crust.
- Don’t move the steak around. Place it. Leave it. Flip once. Sears come from sustained contact.
Two phases. One thermometer. The best steak you’ve ever cooked. That’s the entire trick.
Now go try it.